DIY Nativity Stable
Hello friends! Thanks for stopping by! Follow us on Instagram, Pinterest, and Facebook to keep up with our latest projects!
As promised, I will show you how easy it is to build a pretty stable for your nativity scene out of wood scraps. Are you ready?
Materials needed:
Wood ( I used plywood from my storage trunk project).
Miter saw
Screws
Wood glue
Chalk paint or stain
Sandpaper
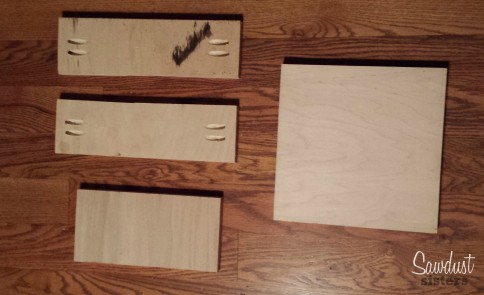
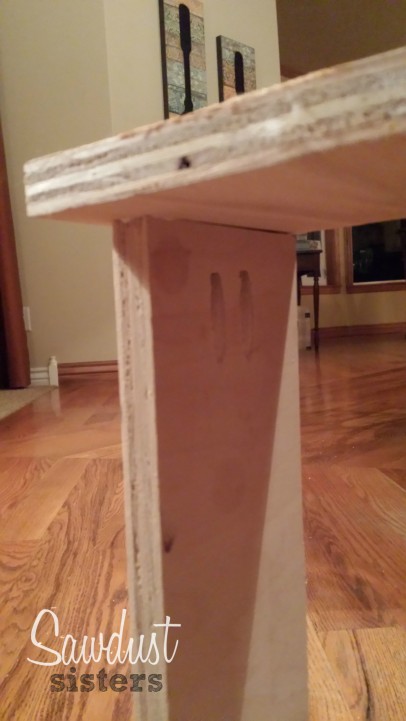
These are my 4 pieces of wood already cut. I drilled pocket holes on my two longer pieces deep enough to fit my 1 1/4 inch screws. I used a Kreg Jig to drill the pocket holes. If you have never used one, don’t panic. This small tool comes with easy to follow intructions and will tell you exactly what to do to get the right depth for your pocket holes. It is all determined by how thick your wood is (mine is 3/4 inches thick). Here are the measurements of my wood pieces:
Right hand square piece – 10 X 10 inches
Bottom left piece – 5 X 10 inches
Top left longer pieces – 3 X 14 inches each
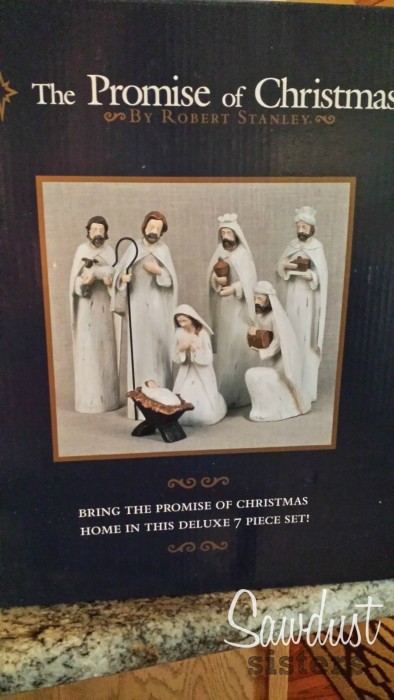
Now, these measurements are based on the size of my tallest figurine. Joseph is about 11.5 inches, and I decided to make the stable three inches taller to make it roomier and more comfortable for them. =-) The top piece is 1/2 the size of the bottom piece. However, it all depends on what you want your end result to look like. I cut the bottom piece first, placed the figurines on it, and then decided the height and width of the side pieces. My nativity is from Hobby Lobby and with a coupon of 40% off I paid $30.00. I bought this back in October, and I am so glad I did! I was there last week and there were no nativities left. Here is what the box looks like:
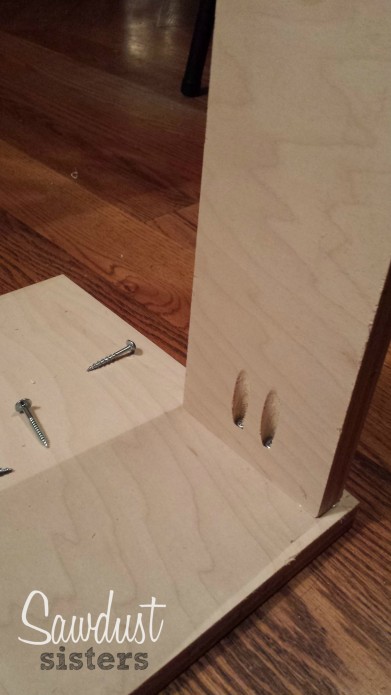
So, let me show how I did this. I attached the side pieces to the base first:
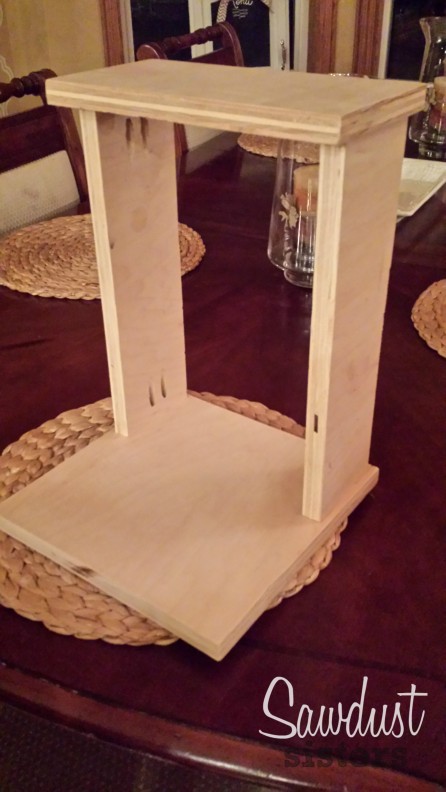
The top was next:
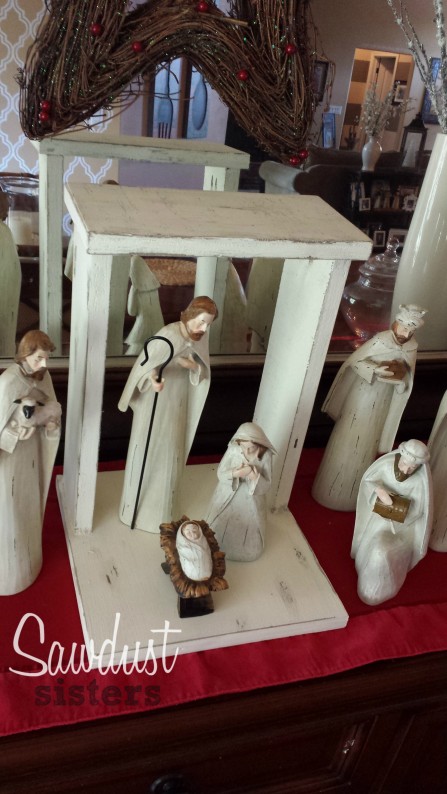
And this is the end result ready for paint or stain:
Don’t forget to use wood glue before you screw the pieces together. Apply the glue where the pieces touch, then screw. It will give you a very sturdy bond. Any wood glue works. You may find it at any craft store.
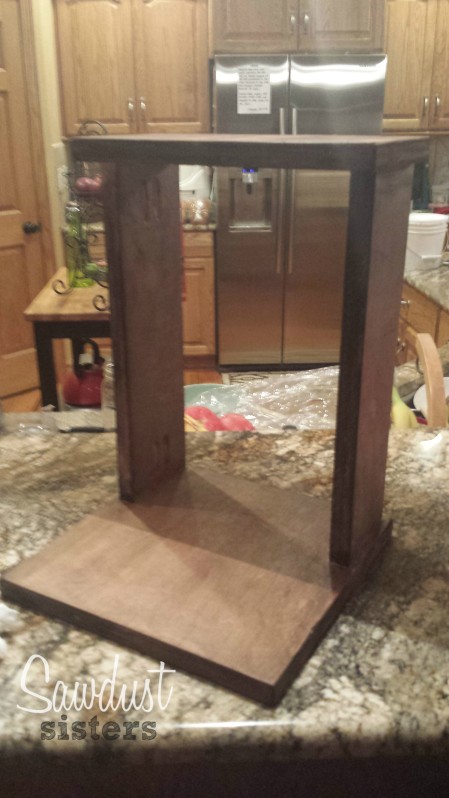
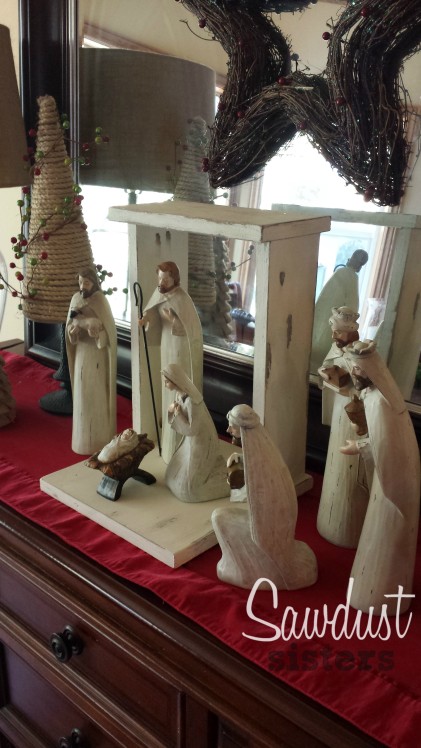
Ok, now we move on to paint. But first I wanted to stain it as I was planning on distressing the whole thing. I wanted the dark stain to show on the edges. However, if that is not your thing and you want the end result to be a solid warm white, go for it! You can skip the following step.
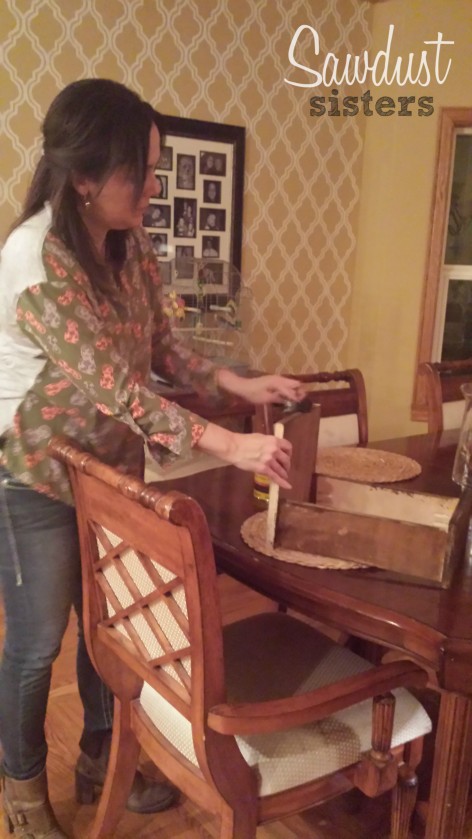
I took an old rag, dipped it in the stain, and started applying it. A small amount goes a long way! I used the same stain I have used for many of my projects. It is the Minwax brand in the dark walnut color. You may want to protect the area where you are staining. Put some newspaper or wax paper down for easy clean up. Also, take the time to change into clothes that you won’t care if they get stained.
Note to self: Follow my own advice. =-)
(As a side note, if you are wondering how I hand painted the back wall in my dining room, you can find the tutorial here.)
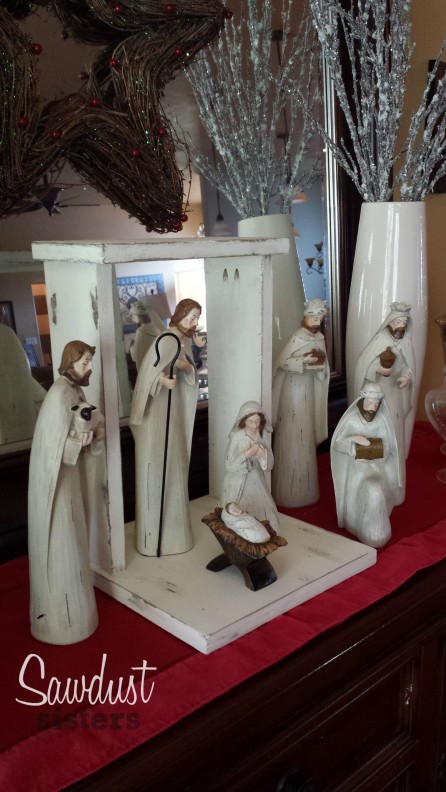
My daughter Natalia wanted me keep it like this. I really liked it too, but it would just get lost with all the wood finishes that there are in my kitchen. My buffet is also a dark wood stain, and I wanted the stable to blend with the nativity and to stand out on the buffet. But, if the furniture piece you are placing your nativity on is white or light colored, I would stick with the stain look. It is all about what you have going on in your space.
Unfortunately, I don’t have pictures of my painting process. I got too excited to finish and forgot all about taking more pictures. But, I will explain what I did.
- I applied some vaseline in the areas where I wanted the paint to chip off (most of the edges and some random areas).
- I painted the whole thing with chalk paint (NOT chalkboard paint) in a warm white. It took about three coats as chalk paint soaks into the wood easily and dries really fast.
- I took a sanding block and sanded all of the edges and random areas where I applied the vaseline.
- I applied more paint or stain in areas where I thought I sanded too much, and sanded more where I thought it needed it. It was a good 10 minutes or more of touching up, sanding, stepping back to look at it, and touching up again. =-)
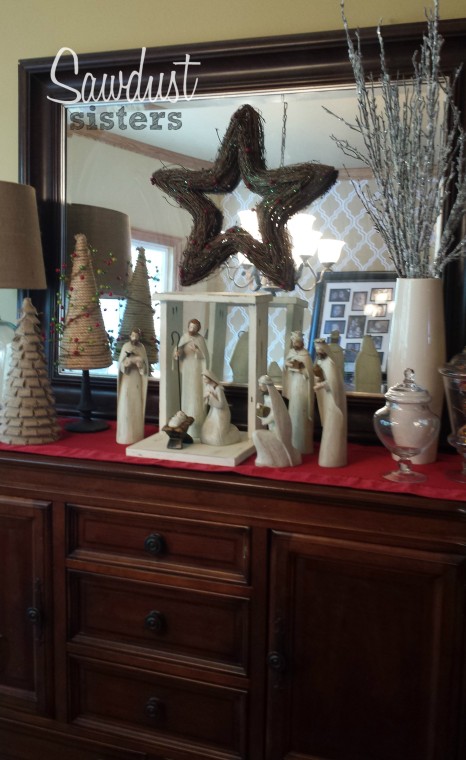
I am pleased with the results! I ended up placing a red runner under it to give it more depth, and added my DIY Christmas trees. I made these before I started blogging – someday I will write a post on how to make them.
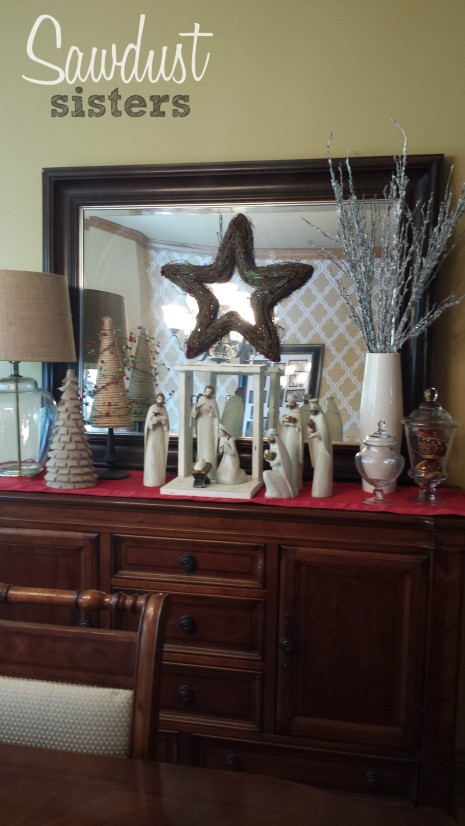
The glass lamp is a DI find and I replaced the shade. The snowy branches I bought at a local craft store, and I still have to fill my glass vases on the right with something Christmasy.
Thank you for stopping by! Let me know if you have any other questions.
-Beverly
No comments:
Post a Comment